
Building a successful base in Palworld 1.0 isn’t just about throwing your favorite Pals into a settlement anymore. The update completely changed how automation works, turning base management into a long-term progression system instead of something you solve after catching a few high-level workers.
Work Suitability now reaches Level 10, upgrading workers matters far more than it used to, and several new mechanics make investing in the right Pals a decision that can pay off for dozens of hours. The days of grabbing one decent worker and forgetting about it are over.
Early on, versatility wins. Later, specialists take over. Knowing when to make that transition is what separates a functional base from one that effortlessly pumps out resources around the clock.
If you’re planning a serious settlement, these are the workers worth chasing.
What’s New for Base Workers in Palworld 1.0?
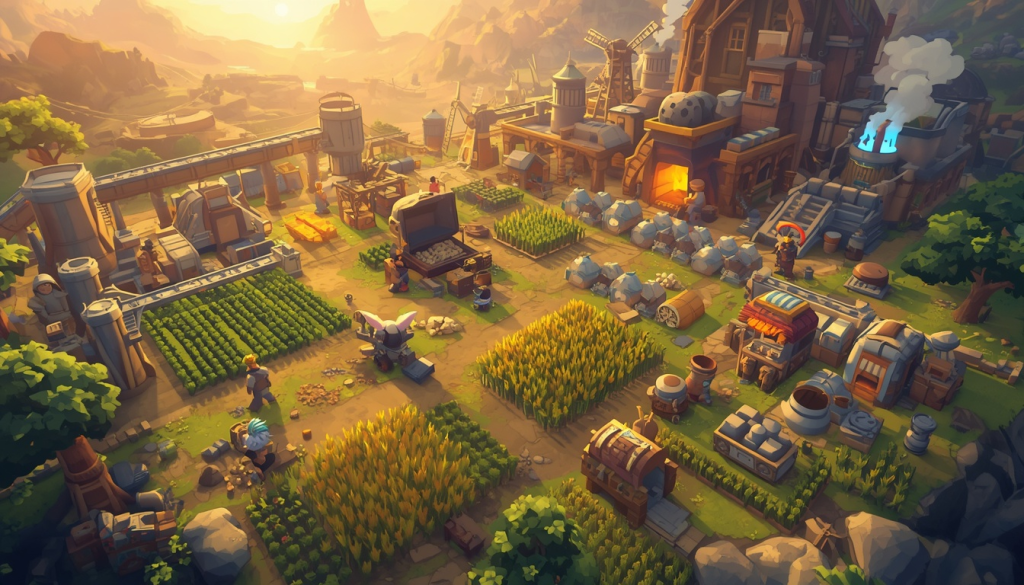
Version 1.0 gave base building one of its biggest overhauls since launch. Rather than stopping at relatively low Work Suitability levels, your workers now have plenty of room to grow, making long-term investment much more rewarding.
Several systems contribute to stronger workers than ever before:
- Work Suitability now scales all the way to Level 10
- Condensing Pals is much easier than before
- Ranking up Pals can increase their work levels
- Applied Technique Books are far more common
- Certain Partner Skills improve the work levels of nearby base workers
- Ranch production and manufacturing have been rebalanced
- Ore deposits are much more common throughout the world
That last change deserves special attention.
Finding the perfect mining location used to feel like half the game. Now, if you stumble across a healthy cluster of ore while exploring, chances are it’s already good enough for a dedicated mining outpost.
Best Base Pals for Every Job
The table below focuses on practical performance rather than theoretical min-maxing. Palworld 1.0 is still fresh, and the community continues discovering stronger combinations, so the meta will keep shifting.
Still, these recommendations provide an excellent foundation whether you’re starting your very first world or rebuilding an existing base.
| Job | Best Early Choice | Best Late-Game Choice | Why It Works |
|---|---|---|---|
| Kindling | Arsox | Jormuntide Ignis / Blazamut Ryu | Arsox handles early cooking and smelting well. Endgame Fire specialists dramatically increase production speed. |
| Watering | Penking | Jormuntide | Penking offers excellent flexibility early, while Jormuntide dominates watering once specialized workers become available. |
| Planting | Broncherry | Lyleen | Broncherry jumpstarts food production. Lyleen becomes the superior dedicated planter later. |
| Electricity | Puffolt | Orserk | Puffolt keeps early powered structures running, while Orserk completely outclasses every other electric worker. |
| Handiwork | Wispaw | Anubis / Ribbuny | Wispaw shines during the early game, especially overnight. Anubis remains one of the strongest crafting Pals available. |
| Gathering | Tombat / Clovee | Frostallion Noct / Verdash | Tombat is outstanding early, while Clovee improves gathering across the base. Late-game replacements simply perform the same jobs faster. |
| Lumbering | Arsox / Mammorest | Celesdir | Arsox fills the role naturally. Mammorest is incredible if you somehow obtain one early. Celesdir eventually becomes the better specialist. |
| Mining | Tombat / Penking | Tetroise / Blazamut / Astegon | Tombat reaches Level 3 Mining early, making ore collection much easier. Dedicated late-game miners produce resources at a completely different pace. |
| Medicine Production | Lifmunk | Bellanoir / Felbat / Lyleen | Medicine isn’t a priority early, but these specialists become worthwhile if you invest later. |
| Cooling | Penking | Dedicated Ice Pals | Penking covers cooling without requiring another worker slot. Endgame Ice Pals outperform it once specialization becomes practical. |
| Transporting | Tombat / Penking | Beakon | Early logistics become far less frustrating with either generalist. Beakon eventually handles transportation almost by itself. |
| Farming / Ranching | Vixy | Job-specific Ranch Pals | Vixy produces incredibly valuable early resources, while specialized Ranch Pals outperform it once your economy matures. |
Applied Technique Books are also much easier to obtain now, opening plenty of opportunities to build exceptionally powerful workers. Because of that, it’s worth thinking carefully before spending valuable upgrades.
The Best Early Base Pals
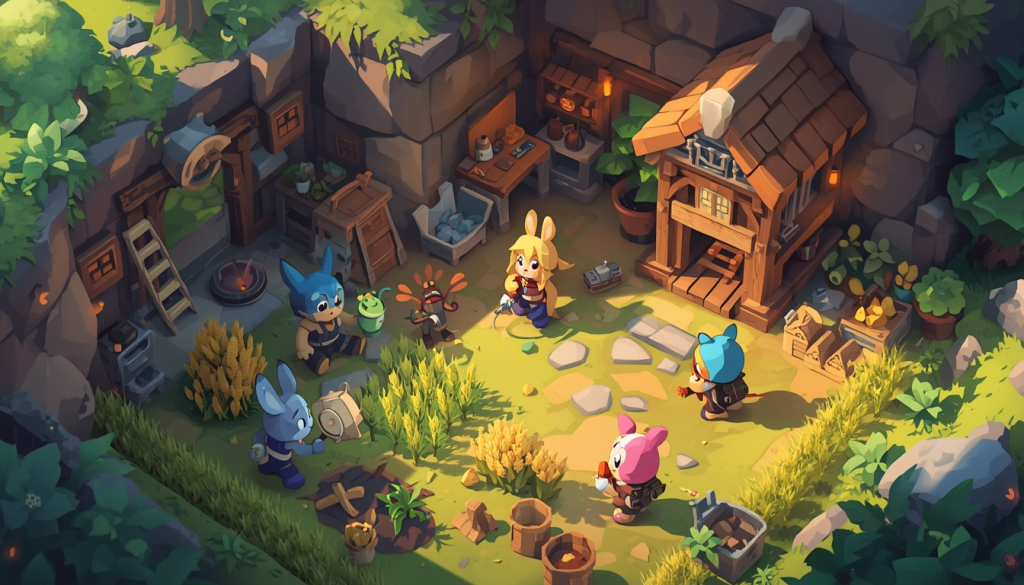
Your first base doesn’t need perfection.
It simply needs workers capable of keeping everything running without constant micromanagement.
Generalists dominate the early game because every Pal has to cover multiple responsibilities. Later, those flexible workers can gradually be replaced by specialists as your settlement expands.
Here are the early workers that consistently deliver the best value.
Vixy
Vixy isn’t popular because it’s an incredible laborer.
It’s popular because it quietly generates free resources while doing almost nothing.
Place one inside a Ranch and it begins producing useful items automatically, including:
- Pal Spheres
- Gold
- Arrows
- Other early-game supplies
Those rewards may not sound exciting individually, but together they remove a surprising amount of crafting and farming from your routine.
Extra Pal Spheres alone save a considerable amount of time during the opening hours.
For an early Ranch, Vixy remains one of the strongest quality-of-life upgrades available.
Tombat
If there’s one worker that deserves a permanent spot in almost every early settlement, it’s Tombat.
Mining is the biggest reason.
Its Level 3 Mining Work Suitability lets it handle ore long before many competitors become available. On top of that, it also gathers resources and transports materials without needing additional support.
Tombat comfortably fills several important roles:
- Mining ore
- Gathering crops
- Moving materials into storage
- Supporting dedicated mining bases
Then there’s another advantage many players overlook.
Tombat works at night.
While most of your workforce heads to bed, Tombat simply keeps going, allowing mining operations and transportation to continue uninterrupted. That constant productivity makes it significantly more valuable than its Work Suitability alone suggests.
Penking
If Tombat is the king of early mining, Penking is the king of versatility.
This Alpha Pal earns its spot because it covers an incredible number of base jobs without forcing you to dedicate multiple workers to basic tasks. Few early Pals can match its overall utility.
Penking can handle:
- Watering crops
- Mining ore
- Transporting resources
- Handiwork
- Cooling food storage
That’s an impressive workload for a single Pal you can recruit relatively early.
Is it the absolute best at every one of those jobs?
Not really.
But that’s not the point.
During the early game, having one worker that’s good at five different tasks is far more valuable than owning five specialists you haven’t even found yet. Penking lets you build an efficient base with minimal effort, making it one of the safest long-term investments before you start replacing generalists with dedicated workers.
Arsox
Every growing settlement eventually runs into the same bottleneck.
You need fire.
Cooking meals, smelting ore, producing ingots—it all depends on reliable Kindling, and Arsox delivers exactly that from the moment you catch one.
Its secondary Lumbering Work Suitability is a welcome bonus whenever the furnaces aren’t busy, although Kindling is what makes this Pal indispensable.
Arsox is especially useful for:
- Cooking food
- Smelting ore
- Producing ingots
- Supporting early industry
It probably won’t remain in your base forever.
Still, replacing Arsox is rarely a priority because you’ll rely on constant smelting throughout almost your entire adventure.
Wispaw
One of the biggest additions in Palworld 1.0 quickly proved that new Pals can shake up the entire early-game meta.
Wispaw might not look intimidating, but it’s an outstanding early Handiwork specialist.
Construction projects finish noticeably faster, crafting queues move along much more smoothly, and—just like Tombat—it keeps working after sunset.
That nocturnal trait makes a bigger difference than many players expect.
While most of your workforce sleeps through the night, Wispaw continues building structures, crafting materials, and helping the base stay productive around the clock.
Its strongest roles include:
- Crafting
- Construction
- Overnight production
- Filling general utility jobs
Eventually, Anubis completely outclasses it.
Until then, though, Wispaw easily earns its place in almost any starting settlement.
Broncherry
Food automation begins with reliable planting.
Broncherry arrives surprisingly early compared to many dedicated farming Pals and immediately solves one of the most frustrating parts of early survival.
Instead of relying almost entirely on berries, you can establish proper crop production much sooner.
Broncherry excels at:
- Berry plantations
- Wheat plantations
- Food automation
- Agricultural bases
It’s also one of the few early workers worth investing resources into.
Even after unlocking stronger farming options, an upgraded Broncherry can continue contributing for a long time before you finally move toward top-tier specialists like Lyleen.
Puffolt
Electricity isn’t a huge concern during your first few hours.
That changes surprisingly quickly.
Powered facilities become increasingly common as your settlement grows, and suddenly a reliable Electric Pal becomes essential rather than optional.
Puffolt fills that role perfectly.
Besides generating electricity, it also improves electrical work performed around your base, making it considerably more valuable than a simple power source.
It’s particularly useful when:
- Powered equipment starts appearing
- Production chains require electricity
- You’re preparing for mid-game expansion
- Better Electric Pals aren’t available yet
Eventually, Orserk completely replaces it.
Until then, Puffolt comfortably carries your power grid through the early and middle portions of the game.
Clovee
Not every useful worker contributes by doing the job themselves.
Sometimes helping everyone else is even stronger.
That’s exactly where Clovee shines.
Its Partner Skill increases Gathering Work Suitability for nearby base workers, making your entire farming operation more efficient without directly replacing any individual Pal.
This support-focused design is one of the biggest strategic additions introduced in version 1.0.
Instead of looking only at raw Work Suitability numbers, players now have another question to answer:
Can this Pal make the rest of my workforce better?
If your settlement depends heavily on gathering crops and farming materials, Clovee deserves serious consideration.
Building the Best Resource Base
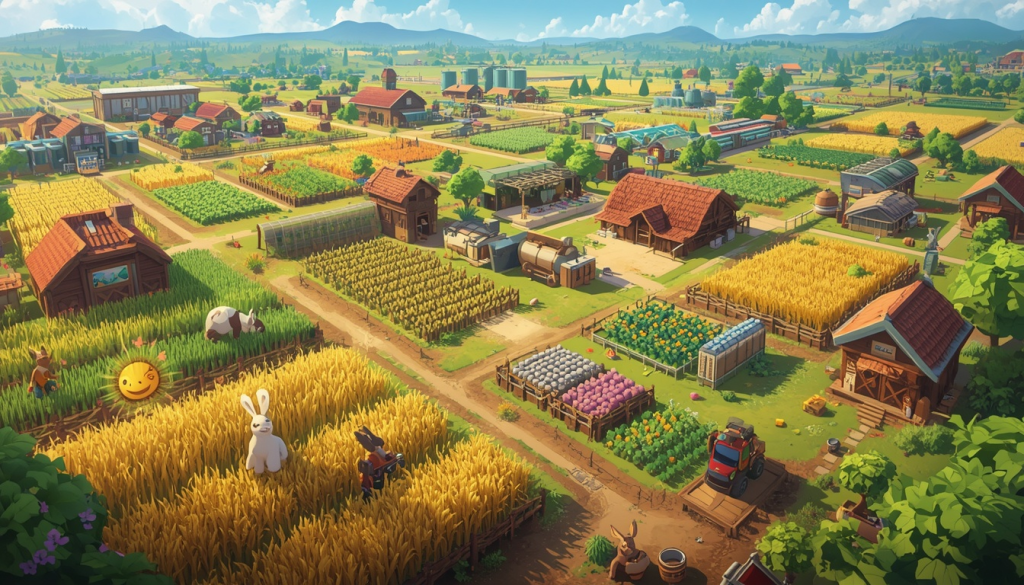
Mining outposts have fairly simple priorities.
Three jobs matter above everything else:
- Mining
- Transporting
- Food support
Tombat and Penking remain the ideal early foundation.
Tombat handles ore extraction while transporting materials back into storage. Penking supplements mining, waters nearby crops, cools food supplies, and carries resources whenever needed.
Add Broncherry to keep food production running and Arsox to handle smelting, and you’ve already built a surprisingly self-sufficient operation.
A reliable early mining base could look like this:
| Role | Recommended Pal |
|---|---|
| Mining | Tombat |
| Mining / Watering / Cooling | Penking |
| Planting | Broncherry |
| Kindling | Arsox |
| Ranch Support | Vixy |
| Handiwork / Utility | Wispaw |
There’s one wildcard worth mentioning.
Mammorest.
If you somehow manage to catch one early, you’ve basically hit the jackpot.
Its Mining, Lumbering, and Planting capabilities are absurdly strong for that stage of the game.
The problem?
Actually catching one while you’re still low level is far from guaranteed.
Most players either pull off an incredible early capture—or get completely flattened trying.
Building a Reliable Food Production Base

Food production is one of those systems that’s easy to underestimate until everything grinds to a halt. Plenty of new players throw together a farm that technically works, only to discover crops aren’t growing fast enough, food keeps spoiling, or workers spend more time wandering than actually farming.
A dependable food base needs several jobs working together:
- Planting
- Watering
- Gathering
- Transporting
- Cooling and storage
Fortunately, your early-game roster can cover all of them without requiring rare Pals.
Broncherry takes care of planting, Penking handles watering while also keeping food storage cool, Tombat gathers crops and transports everything into storage, and Clovee boosts Gathering efficiency across the entire base. Meanwhile, Vixy quietly produces additional supplies from the Ranch.
A simple but highly effective setup looks like this:
| Role | Recommended Pal |
|---|---|
| Planting | Broncherry |
| Watering & Cooling | Penking |
| Gathering & Transporting | Tombat |
| Gathering Support | Clovee |
| Ranch | Vixy |
Once stronger specialists become available, you can gradually replace these flexible workers.
There’s no reason to rush it, though.
A stable food supply is far more valuable than chasing the perfect roster while constantly running out of ingredients.
Best Pals for Crafting and Utility
Handiwork often goes unnoticed—right up until you’re standing beside a workbench waiting forever for a crafting queue to finish.
Construction speed, crafting benches, assembly lines… they all depend on having reliable workers assigned to Handiwork.
Early in the game, Wispaw is one of the strongest options available.
Its Level 2 Handiwork speeds up construction considerably, and because it’s nocturnal, production continues long after most of your workforce has gone to sleep.
Penking can also contribute here, although it’s usually busy handling several other responsibilities around the base.
As your settlement expands, stronger replacements become available.
A natural progression looks like this:
- Wispaw for early crafting
- Penking as additional support
- Ribbuny to strengthen Handiwork across the base
- Anubis as the long-term crafting specialist
Anubis remains one of the strongest production Pals in the entire game.
Version 1.0 also changed how players approach breeding. Many of the old rush strategies aren’t nearly as consistent anymore, especially if you’re starting from scratch. Rather than trying to force late-game breeding immediately, it’s usually smarter to rely on dependable early workers before transitioning into powerhouse specialists like Anubis.
Upgrading Your Base Workers in Palworld 1.0

Simply catching a strong worker is no longer the finish line.
Version 1.0 dramatically expanded the ways you can improve base Pals, making long-term investment far more rewarding than before.
Your main upgrade options include:
- Condensing
- Applied Technique Books
- Partner Skills that improve base work
- Pal Labor Research Laboratory upgrades
- Breeding for stronger passive skills
Applied Technique Books are much easier to obtain than they were previously, but that doesn’t mean you should spend them carelessly.
Think long-term.
If a Pal is only going to stay in your base for a few hours before being replaced, those upgrades are probably better saved for someone with lasting value.
Some of the strongest early investment candidates include:
- Tombat for dedicated mining operations
- Broncherry if it carries your food production
- Penking because of its unmatched versatility
- Wispaw for overnight crafting
- Vixy to improve Ranch production
Out of all of them, Penking arguably offers the best overall return.
Even after unlocking stronger specialists, it’s surprisingly difficult to retire a Pal that can successfully perform so many different jobs.
Pal Labor Research Laboratory
The Pal Labor Research Laboratory is another major progression system worth learning early.
Its upgrades significantly improve worker performance, although unlocking those bonuses isn’t cheap.
Resource costs can feel brutal during the opening stages of the game, so it’s often better to understand how the laboratory works first and postpone major investments until your economy becomes more stable.
Once resources stop being a problem, those upgrades become much easier to justify.
Breeding the Perfect Worker
If you’re breeding Pals specifically for base work, passive skills matter just as much as Work Suitability.
The four traits worth targeting are:
- Artisan
- Work Slave
- Serious
- Lucky
Stack all four on a specialized worker and the difference is immediately noticeable.
Compared to an ordinary Pal, production speed increases dramatically, making even routine tasks finish much faster.
For players chasing maximum efficiency, breeding eventually becomes just as important as choosing the right species in the first place.
Base Building Tips That Actually Matter

Even the strongest workers can’t save a poorly designed settlement.
Pathfinding problems remain one of the biggest reasons bases lose efficiency. If Pals can’t reach their stations—or constantly get stuck—your carefully planned workforce won’t accomplish much.
Large Pals deserve special attention.
Trying to squeeze oversized workers through tiny buildings usually ends with them standing in doorways instead of working.
When designing a base, prioritize the basics first:
- One bed for every Pal
- Enough Hot Springs to recover SAN
- Reliable food production before expanding into luxury projects
- Storage positioned close to production stations
- At least two walls of vertical space for large Pals
- Clear walking paths between every workstation
- Separate bases for mining, ranching, and crafting once additional base slots become available
Good layouts reduce downtime just as effectively as stronger workers.
Sometimes even more.
Don’t Ignore World Settings

If you’re playing solo, adjusting world settings can make base building considerably smoother.
Some players avoid changing them because they consider it cheating.
Personally?
There’s nothing wrong with tailoring the experience to suit your playstyle.
Useful settings include:
- Lower structure damage
- Reduced building deterioration
- Faster work speed
- Increased Ranch production
Finding the perfect balance takes time, and someone else’s preferred settings won’t necessarily feel right in your own world.
Experiment with them.
After a few hours of building and expanding your settlement, you’ll quickly figure out which options improve the experience without removing the challenge.
At the end of the day, it’s your world.
Build it the way you enjoy playing.