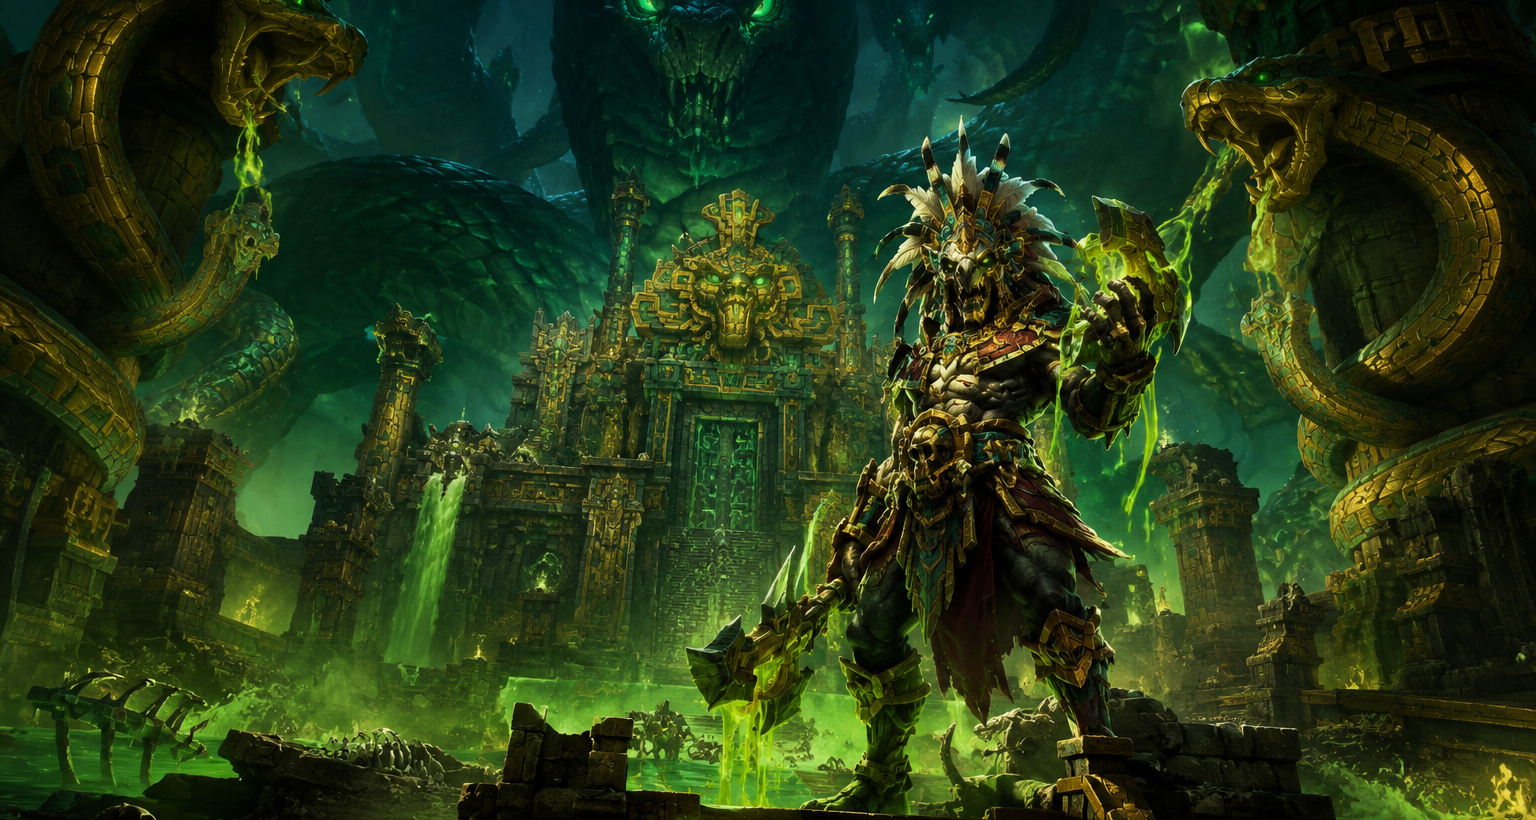
Altar of Fangs may only have three bosses, but don’t let that fool you into expecting a quick or forgiving Mythic+ run. The dungeon packs dangerous trash, several hard interrupt checks, punishing poison mechanics, and two encounters where positioning can make or break the entire group.
Added in Midnight Patch 12.1, Altar of Fangs takes place inside the Vaults of Atal’Utek. Zul’jan is attempting to use the Fang of Ula’tek to break the wards holding Ula’tek captive, and your group gets to deal with the consequences.
The dungeon is available on Heroic, Mythic, and Mythic+ difficulties. Its currently listed Mythic+ timer is 29 minutes, although that number may change as Season 2 tuning settles. Current testing has also shown that the trash deserves just as much attention as the bosses. Ravenous Descendant stacks, High Evolutionist’s Evolve, the Writhing Coil’s movement check, and Zul’jan’s Ritual Venom were among the mechanics testers found particularly troublesome.
Altar of Fangs Location and Entrance
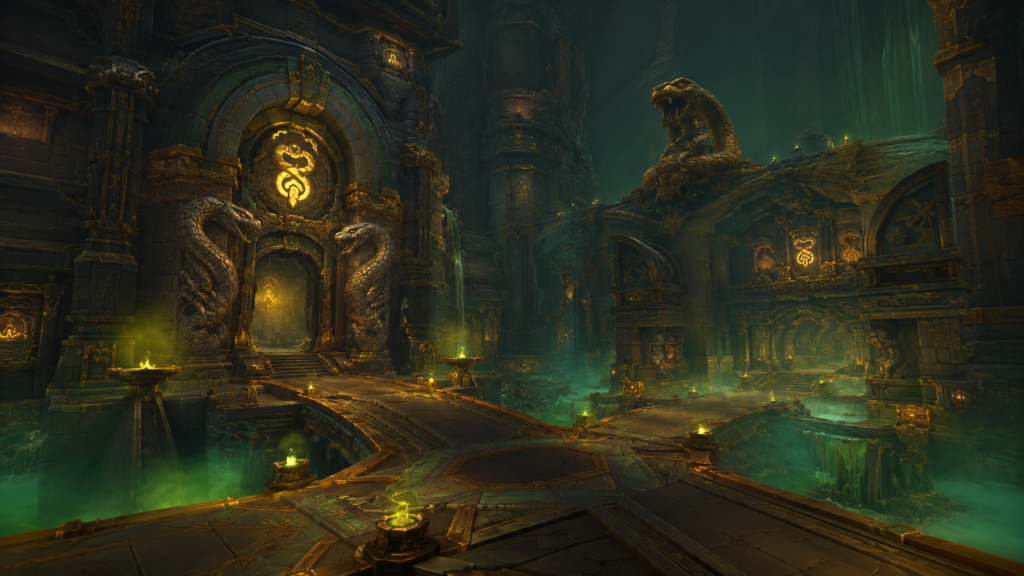
The dungeon is located in Atal’Utek, within the Vaults of Atal’Utek.
The main entrance is:
/way #2509 47.2 67.6 Altar of Fangs Entrance
You can also enter the Vaults of Atal’Utek through several other gates:
/way #2512 43.3 44.2 Gate of the Serpent Eye Entrance/way #2512 45.4 65.9 Gate of the Eastern Fang Entrance/way #2512 31.8 64.9 Gate of the Western Fang Entrance
Once you’ve timed Altar of Fangs at Mythic+10 or higher, you’ll unlock Path of Venomous Evolution, allowing you to teleport directly to the dungeon entrance from your spellbook.
The boss route is completely fixed:
- Rav’i
- The Writhing Coil
- Zul’jan
Rav’i is a ravenous hydra that feeds from Carrion Piles around her arena. The Writhing Coil is a mass of serpents that breaks apart into individual creatures during the encounter. Zul’jan is the Amani warlord attempting to complete the Ritual of the Fang.
Three bosses. Plenty of ways to wipe.
Recommended Level and Gear
You need to be level 90 to enter Altar of Fangs.
There isn’t a fixed Mythic+ item-level requirement, but a reasonable gear target for current Season 2 content is:
| Content | Suggested Item Level |
|---|---|
| Mythic 0 / Low Keys | 290–295+ |
| Higher Mythic+ Keys | Around 300+ |
| Mythic+10 | Roughly 305–310+ |
Your actual comfort level will depend on group composition and player experience.
More important than a few extra points of item level is whether your group can handle the dungeon’s recurring demands:
- Reliable interrupts, especially against Primal Serpents, High Evolutionists, Ula’tek’s Chosen, and the Writhing Coil.
- Strong group healing during Rav’i’s Scavenging and the Writhing Coil’s Synchronized Venom and Death Rattle.
- Clean positioning throughout Rav’i and Zul’jan.
Opening Trash: Caustic Mist Totems
The run begins in an open area containing six Caustic Mist Totems. All six must be destroyed before the group can reach Rav’i.
The opening pulls establish what Altar of Fangs expects from your group. Most enemies don’t have huge spell books, but the casts that matter really matter.
The main threats are:
- Twinfang Harrower
- Ravenous Descendant
- Primal Serpent
- Ritual Chieftain
Twinfang Harrower
Paralyzing Shot targets two players with a Magic damage-over-time effect and a slow. It deals 14 Nature damage on impact, followed by 5 Nature damage every second for 20 seconds. Each tick increases the target’s slow by 10%.
Dispel these whenever possible. One healer Magic dispel can handle one target, while additional Magic dispels, racial abilities, or effects such as Freedom can help with the second.
Toxic Breath is a frontal line that initially targets the tank before sweeping through the area. Tanks should keep the Harrower pointed away from the party.
Ravenous Descendant
These mobs become increasingly nasty through Ravenous Enrage.
Their melee attacks build stacks that make subsequent attacks stronger. The buff eventually expires, so controlling the mob is usually better than letting the tank stand there and absorb increasingly powerful swings.
Soothe is particularly useful. If that isn’t available, slows, roots, stuns, and other crowd control can buy enough time for the stacks to fall off.
Primal Serpent
Piercing Hiss should be near the top of your interrupt list.
A successful cast applies a massive Haste reduction to the group. When several Primal Serpents are active, assign specific players to specific interrupts rather than relying on the classic “someone will kick it” strategy.
That strategy has a surprisingly high failure rate.
Ritual Chieftain
Blood Sacrifice deals party-wide damage and applies a large healing absorb. Healers should remove the absorb as quickly as possible, especially when other damage is landing at the same time.
Dismember is the Chieftain’s major tank attack, so use mitigation when necessary, particularly when the mob is grouped with other dangerous melee enemies.
Once all six Caustic Mist Totems are down, you can move into Rav’i’s arena.
Rav’i — The Carrion Pile Test
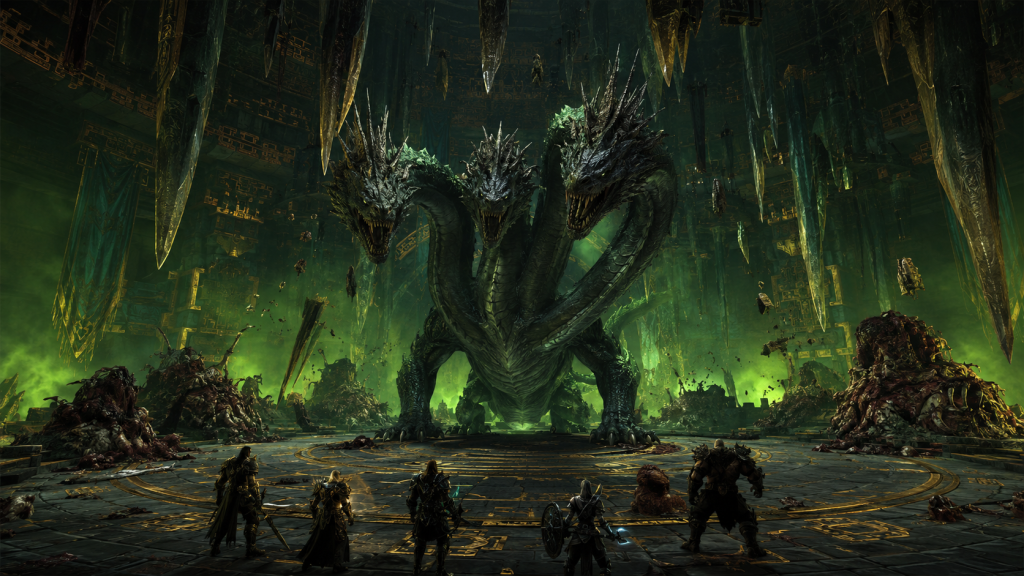
Rav’i is the first boss, and the encounter is largely a positioning puzzle disguised as a hydra fight.
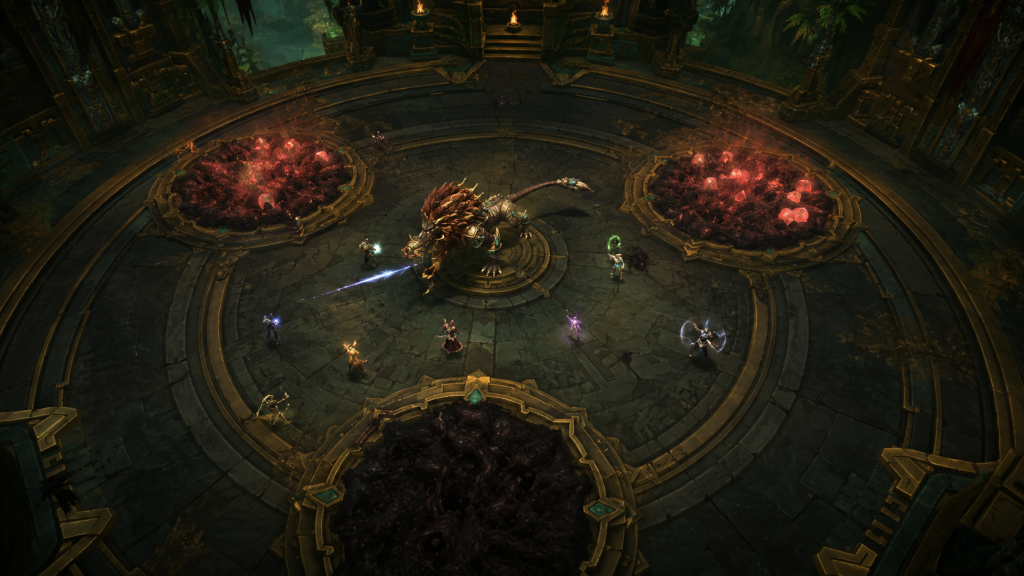
Three Carrion Piles surround the arena. Rav’i repeatedly runs to one of them when she runs out of Energy, and the entire strategy revolves around making sure she chooses the correct pile.
For tanks, this is easily the most important part of the fight.
Rav’i’s Abilities
| Ability | What It Does |
|---|---|
| Ravenous Stomp | Deals group damage and causes falling stalactites. Getting hit causes heavy Nature damage and a stun. Two Carrion Piles receive Fresh Meat. |
| Ssscavenging | When Rav’i reaches zero Energy, she runs to the nearest Carrion Pile, gains an absorb shield, and repeatedly casts Carrion Burst until the shield is destroyed. |
| Feeding Frenzy | Reaching a Carrion Pile containing Fresh Meat causes Carrion Burst to trigger every 1.5 seconds instead of every 3 seconds. |
| Messy Eater | Meat chunks fall around the room. On Mythic and Mythic+, they must be soaked or another Carrion Burst is triggered. |
| Triple Shot | Targets three players with a venom DoT that also damages allies within 5 yards. |
| Regurgitate | Fires three waves of stomach acid toward a player. Hits deal heavy damage and reduce movement speed and damage dealt by 50%. |
| Hydrastrike | All three heads strike the current tank target for heavy damage. |
These interactions, including the Mythic Messy Eater soak requirement and faster Feeding Frenzy timing, are reflected in the current Dungeon Journal.
How to Beat Rav’i
The three Carrion Piles are the entire fight.
After Ravenous Stomp, two piles receive Fresh Meat. One remains empty. The tank should identify that safe pile immediately and begin moving Rav’i toward it before her Energy reaches zero.
When the Energy bar empties, Rav’i runs toward the nearest pile. If she’s already positioned beside the empty one, she avoids Fresh Meat and enters a normal Scavenging phase.
That’s the difference between a manageable mechanic and a healing nightmare.
During Ssscavenging, burn through Rav’i’s absorb shield as quickly as possible. At the same time, the group must soak the meat chunks created by Messy Eater.
Every missed soak triggers another Carrion Burst, and those casts stack.
If Rav’i reaches Fresh Meat, Feeding Frenzy begins instead. The strategy doesn’t change, but Carrion Burst happens twice as often, putting substantially more pressure on the healer.
For Triple Shot, keep the group loosely spread so the three targets don’t overlap their 5-yard damage zones. Personal defensives are useful if the healer is already busy dealing with Scavenging damage.
With Regurgitate, avoid the area around Rav’i and watch the direction of the acid waves. Being hit isn’t just painful; the 50% movement and damage reduction can make the next mechanics harder to handle.
Rav’i Tank Tips
- Track which two Carrion Piles receive Fresh Meat.
- Move Rav’i toward the empty pile before she reaches zero Energy.
- Prepare mitigation for Hydrastrike.
- Keep the boss positioned so the group has enough space for Triple Shot and Regurgitate.
A little less tank DPS is perfectly acceptable if it means the boss stays where she needs to be.
Rav’i Healer Tips
The dangerous moments are Ssscavenging and Feeding Frenzy.
Have healing cooldowns ready, particularly if the group misses Messy Eater soaks. Watch Triple Shot targets as well. The DoT lasts 10 seconds, and overlapping players can turn routine damage into a much larger healing check.
Rav’i DPS Tips
The absorb shield is the priority.
Don’t sit on major cooldowns just to preserve your normal rotation if doing so extends the eating phase. Breaking the shield faster means fewer Carrion Bursts and less incoming damage.
Trash After Rav’i
The dungeon shifts toward heavier poison pressure after the first boss.
High Evolutionist
Envenom targets a random player with a Poison DoT. Reliable Poison removal makes the mechanic easier to manage, although there’s little reason to allow unnecessary casts.
The real danger is Evolve.
If Evolve completes, the High Evolutionist heals and transforms, upgrading Envenom into Mass Envenom. Interrupt or otherwise control Evolve whenever possible. If the transformation starts progressing, focus the High Evolutionist and burn through its protection quickly.
Rattling Wraith
Rattle is a channel that deals heavy sustained party-wide damage.
If the group has already missed interrupts or players are carrying multiple DoTs, this cast can quickly end the run.
Corrosive Fangs is the tank mechanic and applies a damage amplification effect, so tanks should have mitigation ready.
Bloodletters
Bloodletters create damaging puddles around themselves through their melee attacks.
Move these packs steadily instead of allowing the floor around the tank to become covered in hazards.
Hatchlings
Hatchlings can appear naturally in certain packs or spawn when players step on eggs. They fixate random players until killed.
Slows, roots, knockbacks, and stuns make them much easier to control. Players shouldn’t sprint off in completely different directions, since that makes grouping the Hatchlings for AoE much harder.
Clear this section and the second boss awaits.
The Writhing Coil — Interrupts and Movement
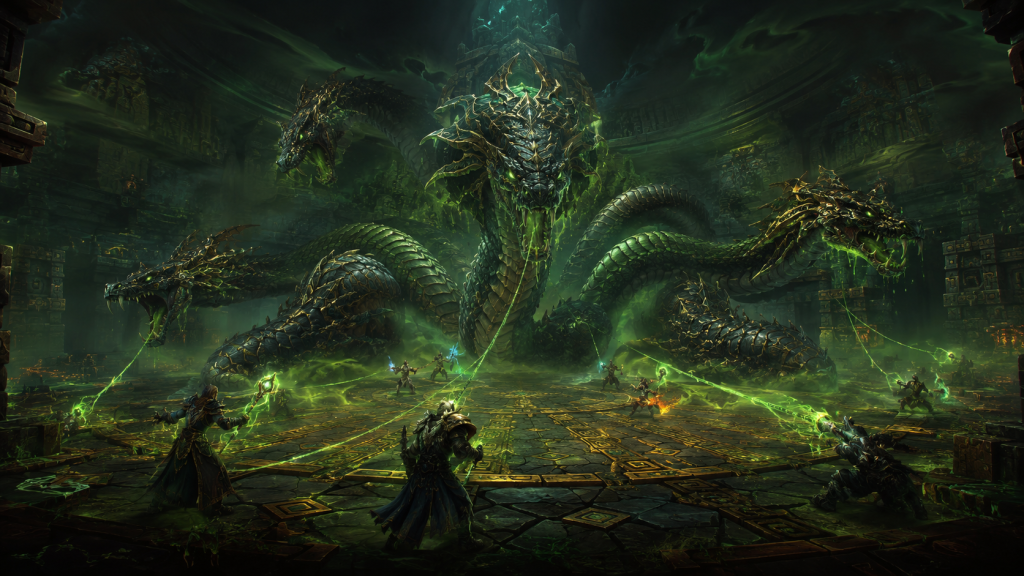
The Writhing Coil is a two-part encounter. It begins as a single boss before entering Uncoiled, where it separates into five snakes.
Damage dealt to those snakes carries back to the boss when they reform, making Uncoiled an excellent opportunity for AoE cooldowns.
The Writhing Coil’s Key Mechanics
- Synchronized Venom — Deals party-wide damage and then ticks every second for 35 seconds.
- Preparing Toxin / Toxic Atrophy — Three consecutive Toxic Atrophy casts can each reduce party damage by 15% and movement speed by 10%. The effect stacks.
- Vindictive Onslaught — A two-stage attack targeting a player.
- Burrowing Charge comes first as a straight-line attack.
- Venom Jet follows as a frontal cone toward the same player.
- Tail Scythe — Heavy Physical tank damage.
- Death Rattle — Rapidly increasing party-wide damage.
- Vine Grip — Tethers players to the boss. The group must move far enough away to pull it apart.
- Uncoil — Splits the boss into five Uncoiled Writhes.
- Spiteful Hunt — The snakes fixate players. On Mythic and Mythic+, being reached applies Spiteful Venom.
- Toxic Atrophy — Some Uncoiled Writhes can cast the same dangerous debuff.
- Undermining — Creates dangerous ground effects as the snakes prepare to reform.
How to Beat the Writhing Coil
During the normal phase, Toxic Atrophy should be your first concern.
The boss attempts three casts in a row, so assign interrupts ahead of time. Having everyone kick the first cast and then discovering nobody has an interrupt for the next one is exactly the kind of mistake that turns a clean run into a disaster.
One stack costs 15% damage and 10% movement speed. Multiple stacks make both the fight and the timer considerably worse.
Synchronized Venom creates a long healing pattern rather than one giant burst. Healers should prepare for sustained damage.
When Vindictive Onslaught targets a player, sidestep Burrowing Charge, then immediately avoid the following Venom Jet. The targeted player should try to point the cone away from everyone else.
Then comes Death Rattle.
Everyone gets a Vine Grip tether and must move away from the boss to stretch it. Save movement abilities for this moment. The longer it takes to extend the tethers, the longer Death Rattle continues increasing its damage.
Once the tether reaches the required state, the boss breaks apart into five snakes.
That’s your AoE window.
Use offensive cooldowns and crowd control to keep the Uncoiled Writhes together while burning them down. Damage dealt to the snakes transfers back to the boss, so this is real boss damage rather than meaningless add damage.
Interrupt their Toxic Atrophy casts as well.
When the snakes prepare to reform, watch the ground. Undermining makes the central area dangerous, so don’t stand there waiting for the phase to end.
Then the boss reforms and the cycle repeats.
Writhing Coil Tank Tips
Use mitigation for Tail Scythe, but don’t tunnel on tank survival at the expense of mechanics. Help with Toxic Atrophy interrupts and keep the snakes grouped during Uncoil.
Writhing Coil Healer Tips
There are two major healing checks:
- Synchronized Venom’s long DoT.
- Death Rattle’s rapidly increasing damage.
Get everyone healthy before Death Rattle and use healing cooldowns if the group is slow to stretch the tethers.
Writhing Coil DPS Tips
Interrupt Toxic Atrophy.
Seriously.
Losing damage while also reducing movement speed makes every mechanic that follows harder. Save AoE cooldowns for Uncoil whenever possible because that damage transfers back into the boss.
The Unfinished Mixture Profession Buff
There’s a small reward for having the right profession skill after the second boss.
In the room beyond the Writhing Coil, you’ll find an Unfinished Mixture in the back-left area. During current testing, a player with at least 25 skill in Midnight Cooking or Alchemy can interact with it and grant the entire party 3% Versatility for the rest of the dungeon.
If someone in your group qualifies, take it.
It costs almost no time and provides a useful bonus for the final section and Zul’jan.
Ascendant Serpent Miniboss
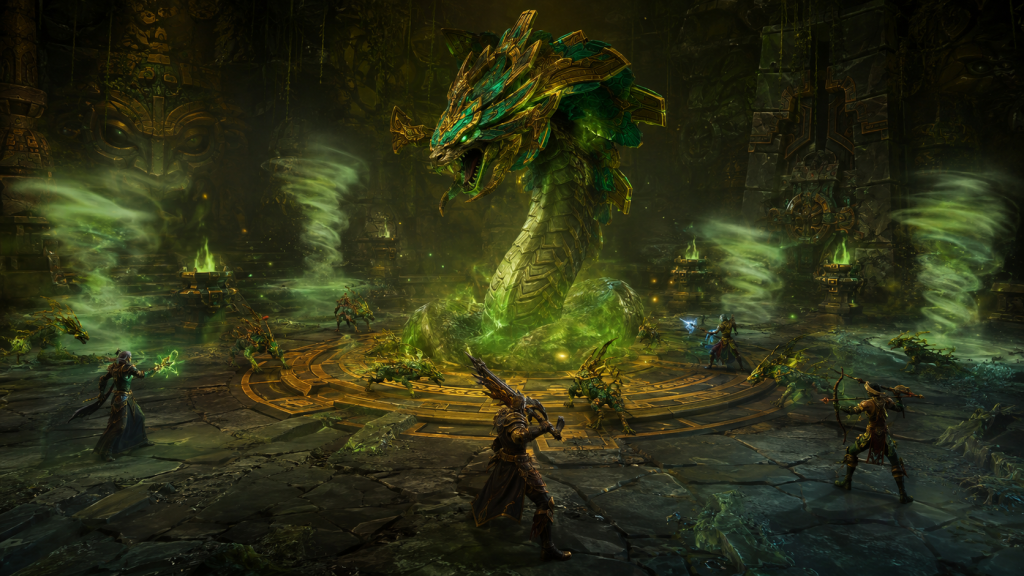
You can’t simply walk out of the mixture room.
Four Infusion Totems must be destroyed first. Doing so releases the Ascendant Serpent, which serves as a miniboss before the final section.
Ascendant Serpent Abilities
Infest places circles and DoTs around players before spawning Hatchlings. Spread enough to avoid cleaving one another, then gather and control the Hatchlings with AoE, slows, and crowd control.
Virulent Whirl creates moving Virulent Twisters around the arena. Keep moving and avoid them.
Noxious Spray targets the tank with a line attack that also pushes them backward. Face the Serpent away from the party and use mitigation while dealing with the knockback.
The Ascendant Serpent and its Hatchlings were adjusted several times during Season 2 testing. The miniboss received reduced health, while Virulent Whirl produces fewer twisters, so older PTR footage may not accurately represent the final tuning.
Final Trash Before Zul’jan
The last trash section doesn’t introduce as many new mechanics, but several abilities become lethal when combined.
Blade of the Altar
Laced Edge deals Physical damage and applies an additional DoT. It’s particularly dangerous when combined with other incoming group damage.
Ula’tek’s Chosen
Mass Envenom is a priority interrupt. It deals party-wide damage, so stop as many casts as possible.
Toxic Surge adds line attacks that need to be dodged while also dealing heavy group damage.
Avoid stacking too many dangerous enemies unless the party has defensive and healing cooldowns available.
Living Venom
Living Venom mobs use Venom Burst and explode when killed.
Don’t kill the whole pack simultaneously.
Stagger their deaths so the party has time to recover between explosions. Several deaths at once can overwhelm the group instantly, particularly if the explosions overlap with Toxic Surge.
Use group defensives when multiple Living Venoms are going to die close together.
Clear them and Zul’jan is next.
Zul’jan — The Ritual of the Fang
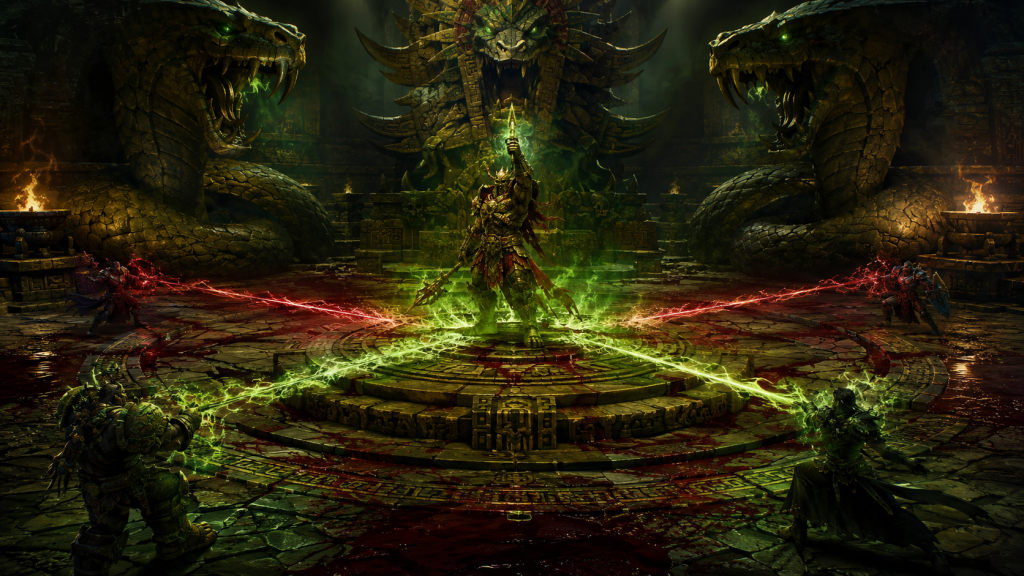
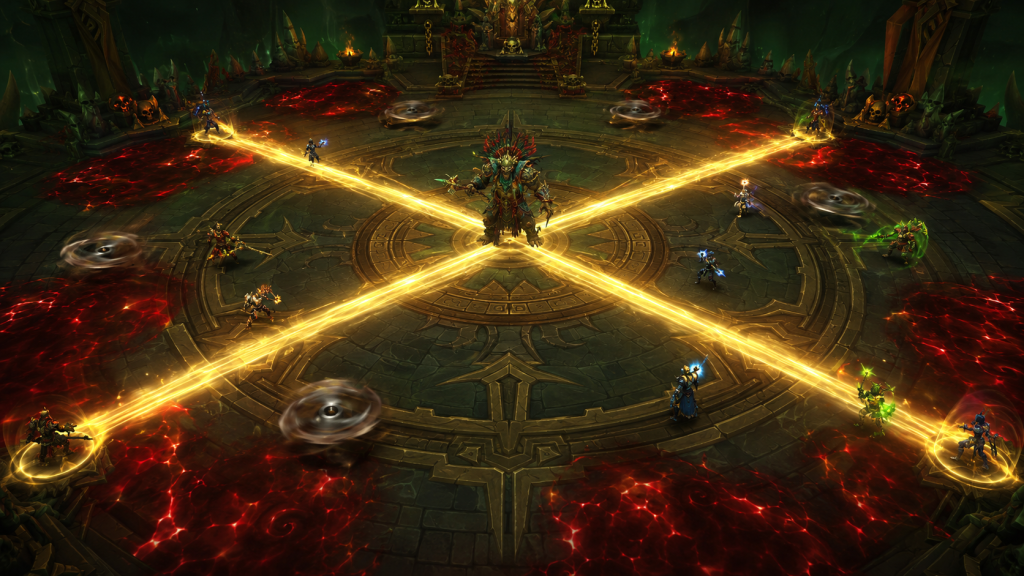
Zul’jan is the final boss, and this is the fight where simply knowing what each ability does isn’t enough. Your group needs to understand how those abilities interact.
The encounter revolves around four steps:
- Intercept the beams during Ritual of the Fang.
- Gain Ritual Venom by soaking them.
- Remove Ritual Venom using Zul’jan’s Physical attacks.
- Control where the resulting Bloodletting pools appear.
Miss the connection between those mechanics and the fight gets ugly very quickly.
Zul’jan’s Abilities
| Ability | Effect |
|---|---|
| Ritual of the Fang | Zul’jan channels for 8 seconds and sends beams toward himself. If they reach him, he gains Fang Empowered and inflicts stacking party damage. Players must intercept them. |
| Ritual Venom | Soaking a beam applies a 50-second debuff that explodes when it expires. It stacks on Mythic and Mythic+. |
| Bloodletting | Zul’jan’s Physical attacks remove Ritual Venom stacks and create nearby blood pools. |
| Boneslicer | Throws an axe in a straight line through a targeted player, dealing Physical damage and applying a 7-second Physical DoT. |
| Axegrinder | Sends spinning axes ricocheting around the room. They deal Physical damage when touched and weaken as they slow down. |
| Chop Down | Hits the tank twice for heavy Physical damage. |
Because Boneslicer and other Physical damage interact with Bloodletting, the fight becomes a matter of deliberately controlling when stacks are removed and where the resulting blood appears. The current Dungeon Journal lists Ritual Venom at 50 seconds and confirms its stacking behavior on Mythic difficulties.
How to Handle Ritual of the Fang
Assign positions before the pull.
Ritual of the Fang happens immediately, with four beams traveling toward Zul’jan along the X-shaped pattern on the floor. Players should stand near their assigned beam and intercept it when the ritual begins.
Consistency helps enormously. If everyone returns to the same beam for each cycle, there’s much less room for confusion.
Soaking the beam applies Ritual Venom. Do not allow the debuff to expire.
Instead, use Bloodletting to remove it.
Zul’jan’s Physical attacks remove Ritual Venom stacks, but each removal creates a blood pool. You therefore need to decide not just how to clear the debuff, but where you want the resulting blood.
For most groups, Boneslicer is the easiest tool for this.
When Zul’jan targets a player, he throws the axe in a straight line. Anyone caught by the initial hit receives Physical damage and the following 7-second DoT. Those repeated Physical damage events can clear Ritual Venom stacks.
There are two practical ways to handle this.
Boneslicer Strategy for PUGs
Random groups should generally split the Ritual Venom clearing across the two Boneslicer casts between rituals.
Every player who needs to remove the debuff should make sure they’re hit by at least one Boneslicer.
Don’t automatically stack the whole party into every cast. Boneslicer applies a substantial DoT, and putting everyone into the same hit unnecessarily increases healing pressure.
It’s not the cleanest approach, but it’s considerably easier to communicate in a PUG.
Coordinated Boneslicer Strategy
Organized groups can use a more controlled approach.
A suitable immunity, Shadowmeld, Vanish, or another ability can prevent or cancel the first Boneslicer. The group can then deliberately stack into the second cast and clear Ritual Venom together.
This creates one planned healing event rather than several smaller ones. It also makes blood placement much easier to predict because the group is clearing stacks at roughly the same time and in the same area.
Use this only when everyone knows the plan.
For a random group, splitting the casts is safer.
Controlling Bloodletting Pools
Every Ritual Venom stack removed through Bloodletting creates blood nearby. Let the group drop those pools randomly and the arena will slowly disappear.
Keep the center of the room and the X-shaped Ritual lines as clean as possible.
When preparing for Boneslicer, move toward the outside of the arena or another predetermined drop location. Once the DoT begins, keep moving enough to avoid stacking blood directly beneath the group.
Tanks have the same problem with Chop Down. Because it deals Physical damage, it can remove Ritual Venom and create blood around the tank.
Move Zul’jan gradually around the outside of the room rather than leaving him stationary while the arena fills.
Axegrinder
After Ritual of the Fang, Zul’jan sends spinning axes around the arena.
Normally, just dodge them.
Although Axegrinder deals Physical damage and technically interacts with Bloodletting, deliberately walking into a moving axe is much less controlled than using Boneslicer. Treat Axegrinder as a movement mechanic unless your group has a specific reason to use it.
Zul’jan Tank Tips
- Use strong mitigation for Chop Down.
- Remember that its Physical hits can remove Ritual Venom stacks.
- Control where the resulting blood pools appear.
- Gradually move Zul’jan around the outer portion of the arena.
- Preserve the central X-shaped Ritual beam lines.
Zul’jan Healer Tips
Know your Boneslicer strategy before the pull.
If the group splits the debuff across multiple casts, expect several smaller healing events. If everyone stacks into one cast, prepare a major cooldown for the resulting DoTs.
Watch Ritual Venom timers closely. A player who reaches the end of the 50-second duration without clearing their stacks is in immediate danger.
Zul’jan DPS Tips
Soak your assigned Ritual beam every time.
Know which Boneslicer you’ll use to clear Ritual Venom before the cast begins, and avoid dropping Bloodletting pools over the central beam positions.
Those three habits solve a large part of the encounter.
Altar of Fangs Loot Table
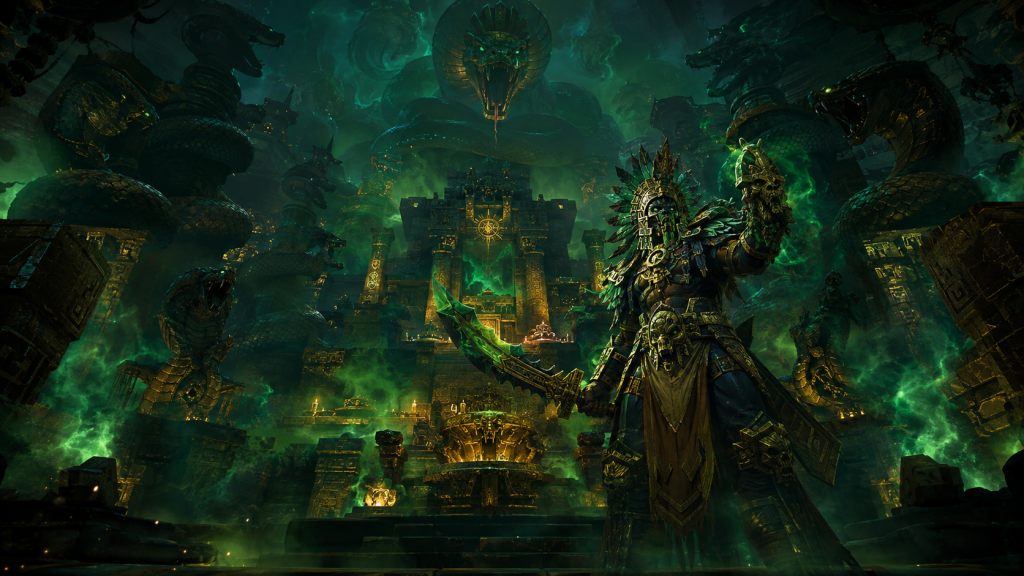
Altar of Fangs drops armor for every armor type, plus weapons, accessories, and four dungeon trinkets.
| Item | Slot | Boss |
|---|---|---|
| Primordial Robe of Rites | Cloth Chest | Rav’i |
| Leggings of Entwined Serpents | Cloth Legs | The Writhing Coil |
| Handwraps of Blasphemous Rites | Cloth Hands | Zul’jan |
| Snakeskin Spaulders | Leather Shoulders | The Writhing Coil |
| Spare Speaker’s Hood | Leather Helm | Zul’jan |
| Hydra Scale Wristguards | Mail Wrist | Rav’i |
| Chestguard of Corroded Scales | Mail Chest | Zul’jan |
| Poison-Proof Stompers | Plate Feet | Rav’i |
| Aged Interwoven Scaleplate | Plate Chest | The Writhing Coil |
| Ancient General’s Obsidian Pillars | Plate Legs | Zul’jan |
| Strand of Warding Fangs | Neck | The Writhing Coil |
| Band of the Amani Warlord | Ring | Zul’jan |
| Venom-Etched Crescent | One-Handed Axe | Rav’i |
| Hydraspine Twinblade | Warglaive | Rav’i |
| Sharpened Lightwood Slasher | Dagger | Zul’jan |
| Polished Lightwood Channeler | Dagger | Zul’jan |
| Toxin-Coated Warstaff | Two-Handed Staff | The Writhing Coil |
| Vile Writhefang Glaive | Polearm | The Writhing Coil |
| Ancestral Amani Recurve | Bow | Zul’jan |
| Nocuous Focal Fang | Off-Hand | The Writhing Coil |
| Coiled Fangstone | Trinket | Rav’i |
| Vile Vial of Volatile Venom | Trinket | Rav’i |
| Knot of Writhing Serpents | Trinket | The Writhing Coil |
| Tattered Amani War Banner | Trinket | Zul’jan |
The current loot data therefore gives the dungeon a broad weapon pool alongside four trinkets.
Mythic+ Rewards
Your end-of-dungeon item level is tied to the Keystone level, while the Great Vault provides higher rewards.
| Keystone | End-of-Dungeon | Great Vault |
|---|---|---|
| +2 | 295 | 305 |
| +3 | 295 | 305 |
| +4 | 298 | 308 |
| +5 | 302 | 308 |
| +6 | 305 | 311 |
| +7 | 305 | 315 |
| +8 | 308 | 315 |
| +9 | 308 | 315 |
| +10 | 311 | 318 |
| +11 | 311 | 318 |
| +12+ | 311 | 318 |
At +10 or higher, the Great Vault reward reaches the Myth 1/6 track under the currently listed Season 2 reward structure.
Altar of Fangs also uses the Season 2 Nebulous Voidcore Bonus Loot system. After Mythic+ runs, players can spend Voidcores on an additional class-appropriate loot pool, with available items depending on class.
The Writhing Brood Mount
There’s another reason to keep Altar of Fangs on your weekly rotation: The Writhing Brood mount.
It can drop from Zul’jan on Mythic or Mythic+ difficulty, giving mount collectors another reason to return even after their gear upgrades slow down.
Zul’jan can also award the Tailoring recipe Pattern: Snakeskin Lining as Bonus Loot from the final boss.
Altar of Fangs Achievements
The currently listed achievements are:
- Altar of Fangs
- Heroic: Altar of Fangs
- Mythic: Altar of Fangs
- Keystone Hero: Altar of Fangs
Completing the dungeon at Mythic+10 or higher under the required conditions also grants access to the Path of Venomous Evolution dungeon teleport.
Which Classes Are Best for Altar of Fangs?
It’s too early to lock Altar of Fangs into a definitive class tier list.
Season 2 tuning can change quickly, and a specialization that looks incredible during testing can move down the rankings once live tuning arrives. Rather than pretending there is one mandatory composition, it’s more useful to look at the tools your group actually wants.
The dungeon rewards parties that bring:
- Plenty of interrupts.
- AoE crowd control for Hatchlings and Uncoiled Writhes.
- Soothe effects for Ravenous Descendants where available.
- Magic and Poison dispels.
- Group defensive cooldowns for sustained Nature damage.
- Strong AoE burst during the Writhing Coil’s Uncoiled phase, often from ranged DPS.
- Cleave from melee specs.
The important point is that these tools directly answer Altar of Fangs’ mechanics. That makes the recommendations more useful than tying the dungeon to a single class meta that could change with the next tuning pass.
Altar of Fangs Mythic+ Tips
If you’re heading into your first keys, there are a few rules worth keeping in your head from the moment the dungeon starts.
Assign interrupts. Piercing Hiss, Evolve, Mass Envenom, and especially Toxic Atrophy can turn otherwise manageable pulls into disasters.
Move Rav’i early. Don’t wait for Ssscavenging. After Ravenous Stomp, identify the Carrion Pile without Fresh Meat and position the boss there before her Energy reaches zero.
Soak Messy Eater. Every missed chunk means another Carrion Burst, and those stacks add up quickly.
Save movement for Death Rattle. The faster the party stretches Vine Grip, the sooner the increasing damage stops.
Use AoE cooldowns during Uncoil. Damage dealt to the five Uncoiled Writhes carries back to the Writhing Coil.
Take the profession buff. If someone has the required 25 Cooking or Alchemy skill, grab the Unfinished Mixture after the second boss for 3% Versatility.
Stagger Living Venom deaths. Several simultaneous explosions can turn a controlled pull into an instant wipe.
Assign Zul’jan’s beams before the pull. Everyone should know which Ritual of the Fang beam they’re responsible for.
Plan Boneslicer. Decide ahead of time which cast each player will use to clear Ritual Venom.
Protect the center of Zul’jan’s arena. Bloodletting pools should stay away from the X-shaped Ritual lines whenever possible.
That is Altar of Fangs in a nutshell: three bosses, a lot of poison, and a dungeon that rewards groups willing to plan mechanics instead of simply throwing damage at everything and hoping for the best.